8 February 2025
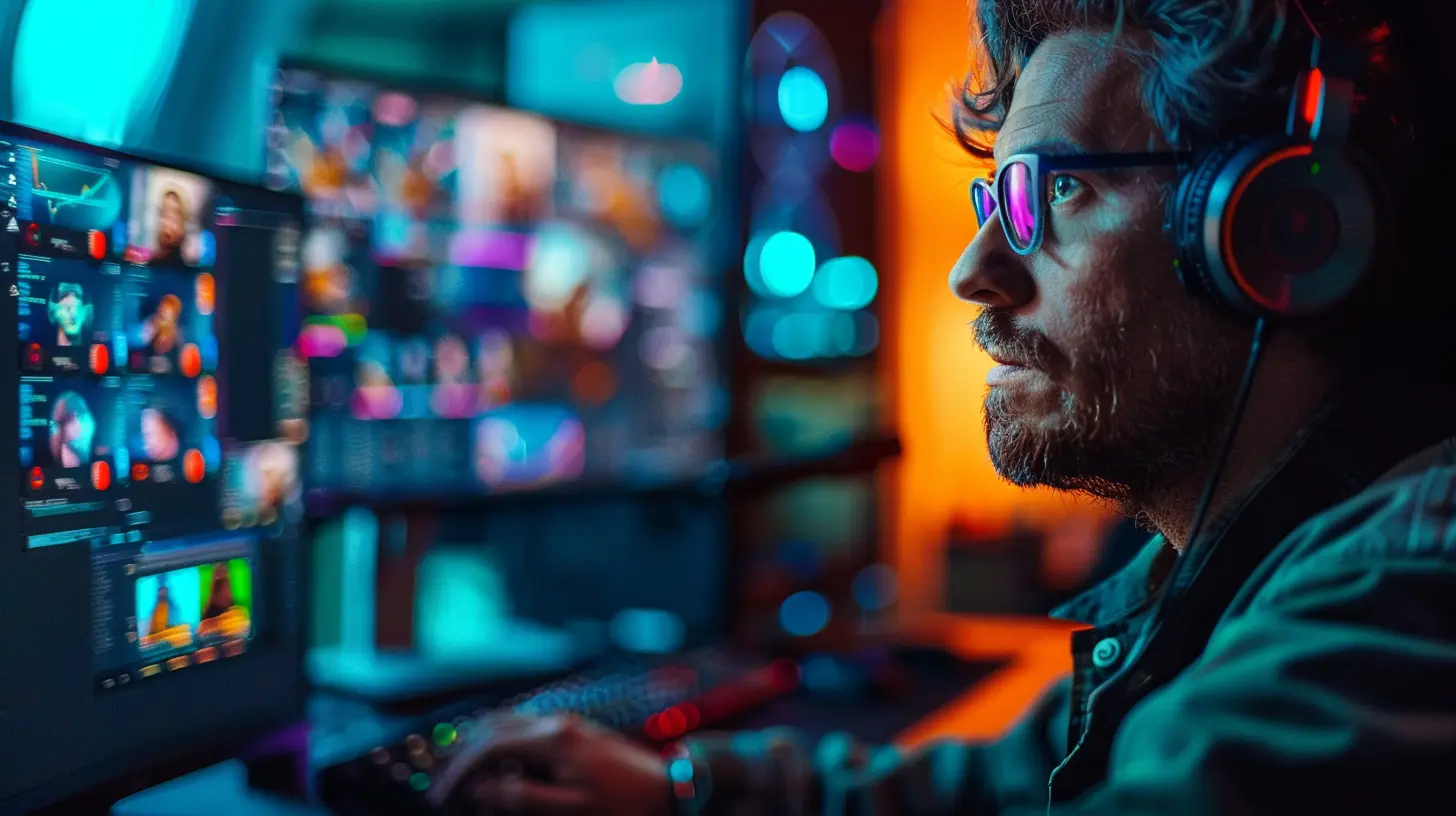
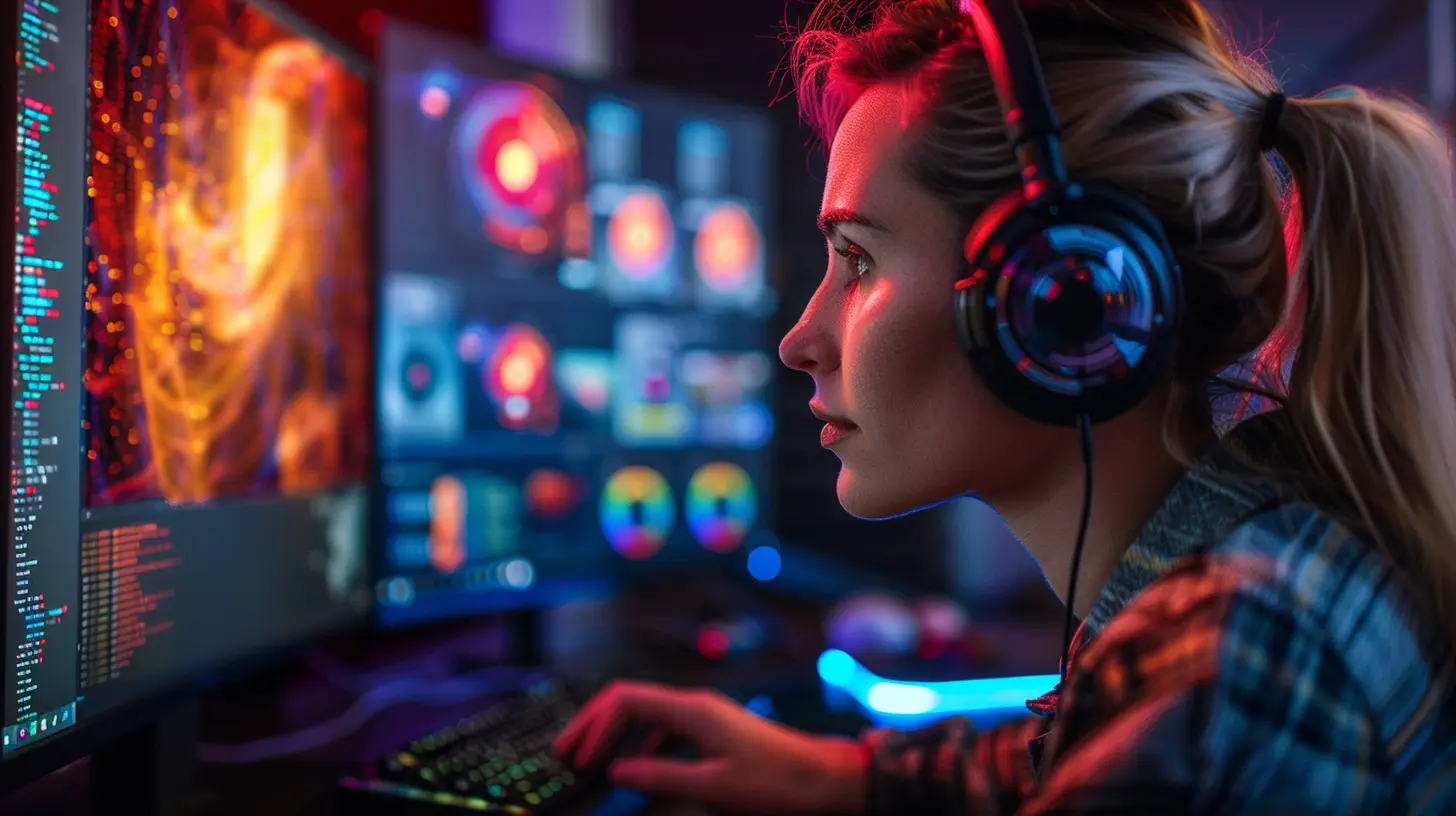
When you think of enhancing your computer or gaming experience, what comes to mind? Maybe buying a better graphics card or upgrading your display? But what if I told you that your monitor could look a lot better with just a few tweaks? That’s right! You don’t necessarily need to buy new hardware to improve your visual experience. Calibrating your monitor can make all the difference, whether you're a gamer, graphic designer, or just someone who loves watching movies in high quality.
In this guide, we’ll walk you through everything you need to know on how to calibrate your monitor for the best visual experience possible. So, if your screen's colors seem off or your images aren’t looking quite right, keep reading!
Why Does Monitor Calibration Matter?
Before we get into the how, let’s talk about the why. Why should you even bother calibrating your monitor?Out of the box, most monitors are not set up for the best color accuracy. Manufacturers often prioritize brightness and contrast to make their displays pop in showrooms — but that’s not necessarily what you want when using the monitor at home.
A poorly calibrated monitor can lead to inaccurate colors, crushed shadows, and blown-out highlights. For gamers, this can mean not seeing enemies hiding in the shadows (frustrating, right?). For photographers or videographers, it can mean your photos or videos look drastically different on someone else’s screen.
In short, if you want to see things exactly as they’re meant to be seen, calibration is key.
What You'll Need for Monitor Calibration
Before diving into the process, let's gather a few essentials. You don’t need a lot to get started, but having the right tools will make a noticeable difference:- Your Monitor (obviously)
- Calibration Software (some monitors come with their own, or you can use a third-party option)
- Hardware Calibration Tool (optional but highly recommended for the most accurate results)
- Patience (seriously, it’s worth taking your time!)
We’ll cover both software and hardware methods, so don't worry if you don’t have a fancy calibration tool; you can still make significant improvements.
Step-by-Step Guide to Calibrating Your Monitor
Step 1: Let Your Monitor Warm-Up
The first thing you need to do is let your monitor warm up. Sounds silly, right? But monitors, like most other electronics, need to warm up to reach their optimal performance.Turn your monitor on and let it sit for about 30 minutes. This will allow the colors and brightness to stabilize before you start adjusting anything.
Step 2: Reset to Factory Settings
Before you start tweaking, it’s a good idea to reset your monitor to its default settings. This gives you a clean slate to work from. You can usually find this option in your monitor’s on-screen menu.Step 3: Adjust Brightness and Contrast
Now that your monitor is warmed up and reset, let’s move on to the brightness and contrast settings. These are two of the most important factors in getting a good picture.Brightness:
- Brightness controls how dark or light the display is. A common mistake is to crank up the brightness too high, which can wash out colors and make whites appear too bright.- To adjust your brightness, look for an image with both dark and light areas (you can use a grayscale test image). Adjust the brightness so that the darkest parts are black, but you can still see detail in the shadows.
Contrast:
- Contrast, on the other hand, controls the difference between the darkest blacks and the brightest whites.- You’ll want to adjust the contrast so that whites are bright, but not so bright that they lose detail. Again, using a grayscale test image can help here.
Step 4: Adjust Color Temperature
Color temperature determines the warmth or coolness of the image. Most monitors default to a color temperature of around 6500K (Kelvin), which is often referred to as “daylight.” This is a good middle ground, but you can adjust it based on your personal preference or needs.- If things are looking too blue, you’re running a cooler temperature.
- If things are looking too yellow or red, you’re running a warmer temperature.
Most monitors will have preset options like “Cool,” “Warm,” or “Standard.” It’s best to choose something close to 6500K for the most accurate representation of colors.
Step 5: Gamma Adjustment
Gamma affects the overall brightness of your midtones without changing the brightness of pure black or white. It’s essentially the contrast of the "middle" tones in an image.Here’s the deal: The standard gamma value is 2.2 for most monitors, and this is what you should aim for. If your gamma is too low, the image will look washed out. If it's too high, it’ll look too dark and lose detail in the midtones.
Some monitors have built-in gamma settings, but you can also adjust gamma using calibration software (more on that below!).
Step 6: Fine-Tune with Calibration Software
Okay, so you’ve made some manual adjustments, and things are looking better already. But to really dial in the perfect settings, you’ll want to use calibration software.Built-In Tools:
Both Windows and macOS come with built-in calibration tools that can guide you through the process:- Windows: Type “Calibrate display color” into the search bar, and follow the step-by-step wizard.
- MacOS: Go to System Preferences > Displays > Color, and hit “Calibrate.”
These tools will guide you through adjusting gamma, brightness, contrast, and color balance.
Third-Party Options:
If you want to go a step further, there are third-party software options that offer more control and precision:- DisplayCAL: A popular open-source tool that works well with most monitors.
- CalMAN: A professional-grade tool commonly used by videographers and photographers.
Step 7: Use a Hardware Calibration Tool (Optional)
If you’re serious about getting the most accurate colors possible, using a hardware calibration tool (like the Datacolor SpyderX or X-Rite i1Display) is the way to go. These devices measure the light coming from your screen and adjust your monitor’s settings to ensure the colors are spot-on.Here’s how it works:
1. Attach the calibration device to your screen.
2. Run the calibration software that comes with the tool.
3. The device will analyze your display and automatically adjust settings like color balance, brightness, and gamma.
This is a great option if you're doing professional work like photo or video editing, where color accuracy is crucial.
Step 8: Test Your Results
Once you’ve finished calibrating, it’s time to test your results. Pull up a few images or videos that you’re familiar with and see how they look. Do the colors look natural? Are you seeing details in both the shadows and highlights? If everything looks good, congratulations! You’ve successfully calibrated your monitor.If not, don’t worry — you can always go back and tweak the settings further.
Step 9: Keep Your Calibration Up-to-Date
Monitor calibration isn’t a one-and-done deal. Over time, your monitor can drift, meaning the colors and brightness might change subtly. To keep your display in top shape, it’s a good idea to recalibrate every couple of months.If you’re using a hardware calibration tool, some even come with reminders to let you know when it’s time for another calibration.

Final Thoughts
Calibrating your monitor might seem like a hassle, but it’s well worth the effort. Whether you’re gaming, editing photos, or just browsing the web, a calibrated monitor ensures that you’re seeing everything the way it’s meant to be seen. Accurate colors, balanced brightness, and correct gamma levels can make all the difference, transforming your visual experience from "meh" to "wow."So, take a little time to adjust your monitor’s settings, and you’ll be amazed at how much better everything looks.
Quick Recap:
1. Let your monitor warm-up.2. Reset it to factory settings.
3. Adjust brightness and contrast.
4. Set the correct color temperature.
5. Fine-tune gamma settings.
6. Use calibration software for precision.
7. Consider using a hardware calibration tool for ultimate accuracy.
8. Test your results.
9. Recalibrate every few months.
Happy calibrating!


Talis Matthews
Great article! Calibrating your monitor can truly enhance your visual experience, making a noticeable difference in color accuracy and comfort. Thanks for sharing these helpful tips. It's always rewarding to optimize our tech for the best possible viewing experience. Keep up the good work!
March 16, 2025 at 11:29 AM